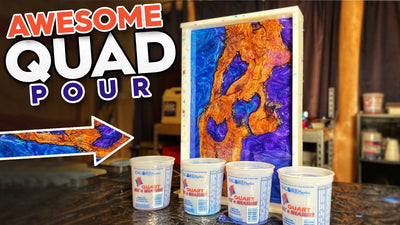
DIY Epoxy Resin Quad Pours: Part 1
Have you ever seen those gorgeous, colorful, very Instagram-worthy epoxy resin pours? In today’s tutorial, we show you how to pull off those quad pours, show you how to secure your wood when using it with epoxy, and how to create HDPE forms!
Skill Level: Beginner/Intermediate/Expert
Estimated Working Time: 72 Hours
What You’ll Need:
- Upstart Epoxy Deep Pour Resin
- Upstart Epoxy Powdered Pigments Set
- Plastic Cups
- HDPE
- Kreg Screws
- Clamps
- Silicone
- Glue Gun
- Mechanical Mixer
Create A Form
We’re kicking this tutorial off by filling our cups with our pre-mixed epoxy. We’re using deep pour epoxy (a 2:1 ratio), so make sure you pour accordingly. Deep pour epoxy has a lot of viscosity- it's very watery, so be aware! Now let’s talk about this form we created out of HDPE. Follow us as we make our double sided charcuterie board!
We made this mold using HDPE, which you can get from your local plastic store- we recommend getting a 4-sheet pack or more, which usually comes with 4x8 sheets. Out of these packs, we were able to create 10 different forms out of that one sheet! This particular board is going to be 20x12. Next, we take some Kreg screws and add them on the side to clamp everything down.

Protect The Project With Silicone And Hot Glue
Next, cover all of the edges in silicone, paying close attention to the bottom edges of your mold every time. That way you do not risk a leak- epoxy is expensive and you do not want to waste it! After the silicone has dried up, we cut out this piece of wood that we're going to use for this project, it's going to be a double sided charcuterie board. We used our glue gun to lightly clamp the piece down to the mold, only adding glue to the underside. Don’t worry, this will come off once you polish off your project.

Pour The Epoxy
The part you’ve been waiting for- the pour! We added our mixed epoxy into separate cups and picked out four mica powder colors, two shades of purple and two shades of blue. We used a mechanical mixer to get the powders acclimated with the epoxy. Now, grab a friend for an extra set of hands, and pour! Sit back and enjoy the beauty, as you’ll need to let this cure for three days.

Add Finishing Touches
As it cures, come back and visit the project with a wooden stick to keep the epoxy moving. If you want to add some swirl designs, wait until the 14-18 hour mark to do it. Any swirls you do at that point will stay, as the epoxy will be the consistency of peanut butter. This will ensure perfect swirls. Come back here next week for part two!