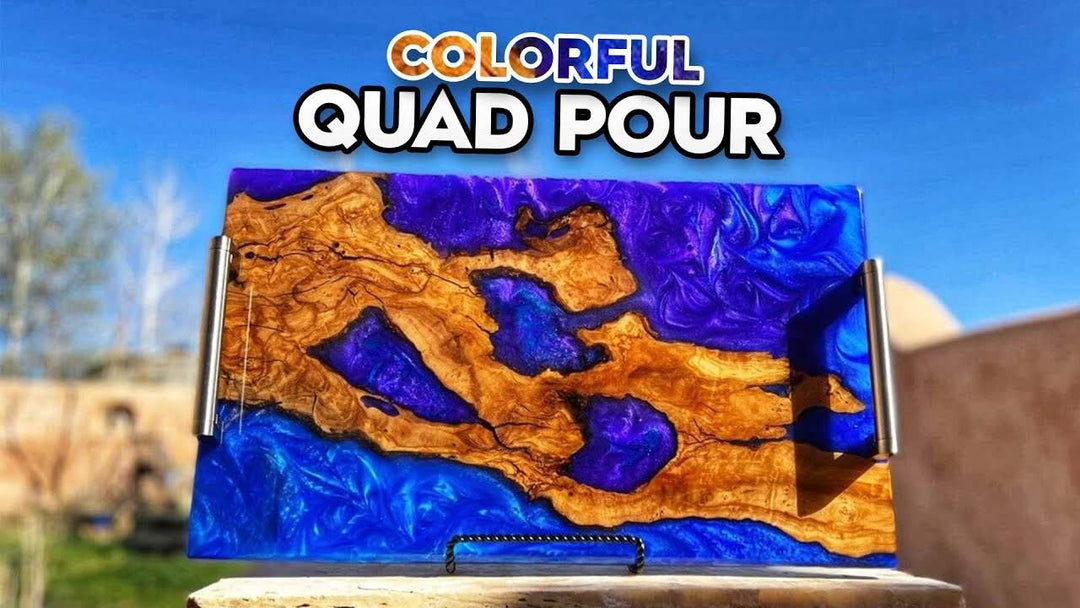
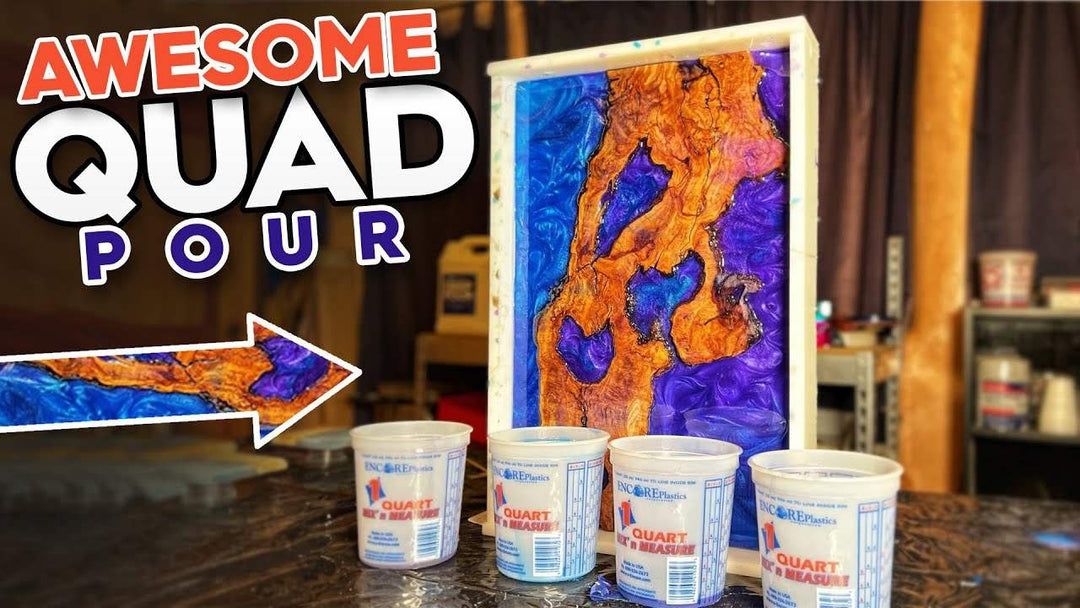
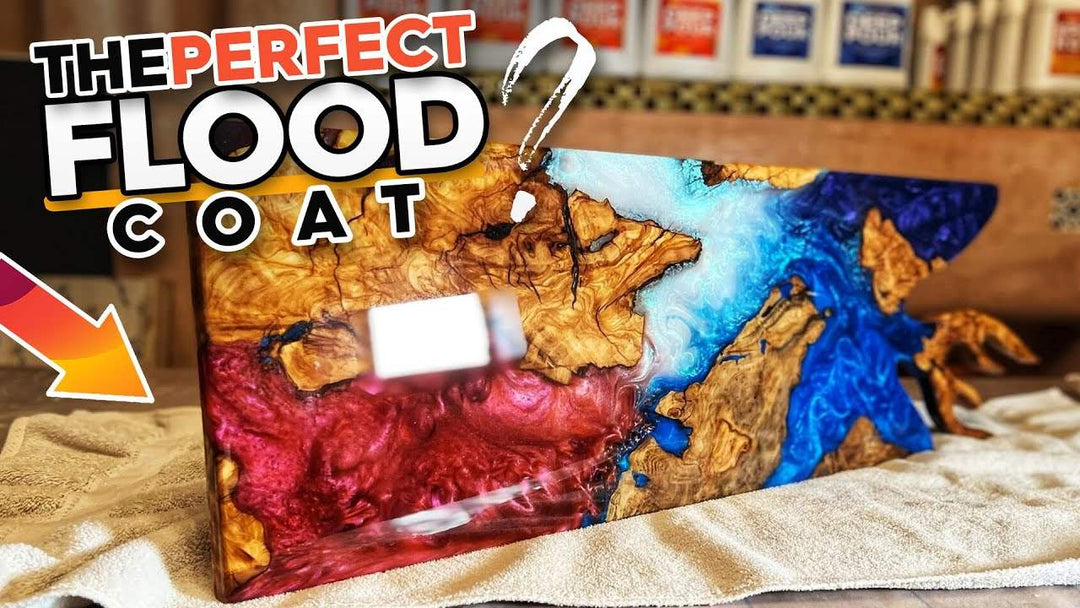
The Perfect Epoxy Resin Coffee Table l Tips & Tricks For Your Next DIY
This week Steve walks you through the process of making yet another DIY epoxy resin coffee table! This one is multifunctional- use it as an end table, a small desk, or whatever you can. Steve also drops a few tips and tricks about epoxy resin for wood. Follow along now!
Skill Level: Beginner/Intermediate/Expert
Estimated Working Time: 24-48 Hours
What You’ll Need:
- Upstart Epoxy Deep Pour Resin
- Upstart Epoxy Table Top Resin
- Upstart Epoxy Powdered Pigments Set
- Wood Slab
- HDPE Mold
- Heat Gun
- Belt Sander
- Sandpaper
- Finishing Oil
- Table Legs
- Screwdriver
Choose a wood slab.
Start by choosing a wood that you feel comfortable with! We prefer olive wood because it has rich colors, plenty of character, and compliments any epoxy project very well. Put the wood slab of your choice inside of the HDPE mold.

Thoroughly mix your deep pour epoxy.
We’re kicking off this project by mixing our deep pour. We like to mix our epoxy for 2 to 3 minutes, just to make sure both parts have been mixed together thoroughly. If you’re mixing by hand, mix for at least 10 minutes. Make sure that both components are blended well before moving on to the next step!

Select your powdered pigment colors.
Next, we’ve got to grab our powdered pigment set and choose our colors for this project and add them to our mixed epoxy. We chose Red Copper (BZ4) and a turquoise shade from another pigment provider, but the closest in our set would be Blue Green (Y4707). When mixing, it’s inevitable to have bubbles appear- get rid of them by using a heat gun to achieve a clean pour.

Pour the mixture onto your mold.
Now let’s start pouring. Be sure to look everything over and see if there's anything you missed. Step back and admire how much the wood, turquoise, and copper compliment each other. It's really a thing of beauty!

Let it cure and clean up the project.
After letting the project cure for about 4-6 hours, we popped it out of the HDPE mold and took it outside to use our belt sander. The goal was to cut off the edges, expose the wood, and remove any excess epoxy. We do all of this by focusing on the high points and scuffing up the underside. This technique gets your project nice and flat!
We sanded it over quickly using 500-grit in preparation for our flood coat, typically using a router edge or chamfer bit to bevel the edges. Both steps give us the clean and sophisticated look we're aiming for.

Pour a flood coat to bring the beauty of the wood to the forefront.
When doing a flood coat, you want to cover every area of the project- the sides, the edges, all of it- in epoxy. We allowed our epoxy to drip off the project and then ran a mixing brush (or a card if you don’t have a brush) underneath the project. Once the flood coat pour starts, you’ll see the wood grain of your work start to POP and the beauty of the epoxy will steal the show!

After curing, sand the table for an impressive finish.
We let the project cure again overnight and then used 40-grit sandpaper to remove dry drips. It's important to adhere to proper epoxy drying times to get the right finish.
This sandpaper grit is rigid and rough, so it can take off any imperfections really easily! Next, we sanded the bottom of the piece all the way to 500-grit, removing debris and dust.

Add finishing oil to the piece.
We wiped down the underside with finishing oil, which is perfect for polishing and preserving wood. It's so easy to use- just dab some on your hands or on the surface (while wearing gloves) and polish away.

Add legs to the table and you’re done!
Finish the table off by screwing legs onto the underside, tapping into the wood as much as you can. Now, you’re all done! A sophisticated, unique coffee table done 100% by YOU, in the comfort of your own home!

THE REVEAL:


