Easy Epoxy Resin Techniques: How To Do A Seal Coat
You know what’s worse than bubbles? Bubbles that get STUCK! If you do a seal coat on your pieces before a flood coat, air bubbles don’t stand a chance. Here’s how:
Skill Level: Beginner/Intermediate/Expert
Estimated Working Time: 24-48 Hours
What You’ll Need:
- Upstart Epoxy Table Top Resin
- Spreader/Mixer
What Is A Seal Coat?
Seal coats are perfect for preventing air bubbles and protecting the wood! This coat is a small batch of epoxy, packed with coverage, that will penetrate and protect your surface. It will seal any pores that the epoxy can seep into and form bubbles in, and create a smoother flood coat.
Get Good Coverage
All you have to do is start pouring the mixture at one end of the project, and go to the other end, making sure you get a good amount of coverage as you go. You can use the spreader your epoxy comes with, your hand, whatever works!
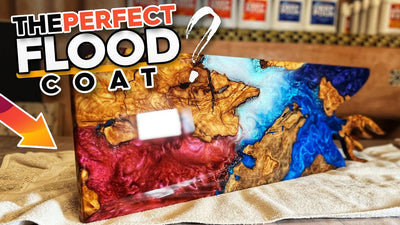
Let It Cure
We let the seal coat cure for four hours, and then we hit the project with a flood coat, which is always done with our table top epoxy. In our next mini tutorial, we’ll show you how to do a flood coat properly!